Many people backup iPhone and iPad data with Windows PC because of its large storage space. When you buy a new iPad, you need to transfer files from PC to iPad. Even though your iPad is disabled or broken, you can still keep important iPad files safe.
Then here comes the question, how can you transfer files from Windows PC to iPad Pro, iPad mini or other iPad models? If you have the same question, you just came to the right place. This article shows all detailed solutions for iPad file transferring. In another word, you can access all available online and offline PC to iPad file transfer methods. Just read and follow.

- Method 1: Transfer Files from PC to iPad via Email
- Method 2: Transfer Files from PC to iPad with iTunes
- Method 3: Transfer Files from PC to iPad Using iCloud Drive
- Method 4: Transfer Files from PC to iPad through Dropbox
- Method 5: Transfer Files from PC to iPad by Google Drive
- Method 6: Transfer Files from PC to iPad with Microsoft OneDrive
- Method 7: Transfer Files from Windows PC to iPad with Ultimate iPhone Transfer Software
Method 1: Transfer Files from PC to iPad via Email
Step 1. Open the email page. (Gmail/Hotmail/Yahoo/etc.)
Step 2. Attach photos you want to transfer.
Step 3. Send an email to yourself.
Step 4. Head to your iPad to download the attached images.
Note: There is the certain file size limit for the email attachment.

Method 2:Transfer Files from PC to iPad with iTunes
Step 1. Connect iPad to iTunes
Update iTunes to the latest version. Connect iPad to PC via a USB cable. Run iTunes. Choose the iPad device button to locate the main interface.
Step 2. Request for File Sharing
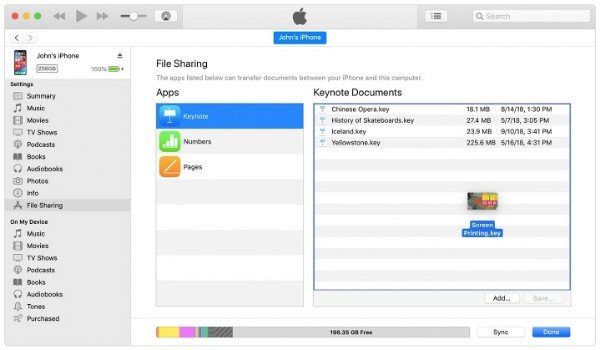
Click “File Sharing” in the left panel. You can see available apps for iTunes file transferring. Choose the certain application to see what you can transfer to iPad.
Step 3. Transfer files from PC to iPad using iTunes
Select files you need. Then click “Add…” to copy files from your Windows PC to iPad. You can drag and drop files from a folder into the “Documents” list too.
Method 3:Transfer Files from PC to iPad Using iCloud Drive
Step 1. Launch iCloud on PC
Download and install iCloud for Windows on PC. Restart your computer after the iCloud installation. iCloud will open automatically. If not, you can find iCloud from the Start menu.
Step 2. Log into your iCloud account
Sign into your iCloud account with Apple ID and password. You need to enable the iCloud feature manually. Choose “Apply” to save the change. The first time you use iCloud, you can get 5GB free iCloud storage space.
Step 3. Transfer files from PC to iPad wirelessly
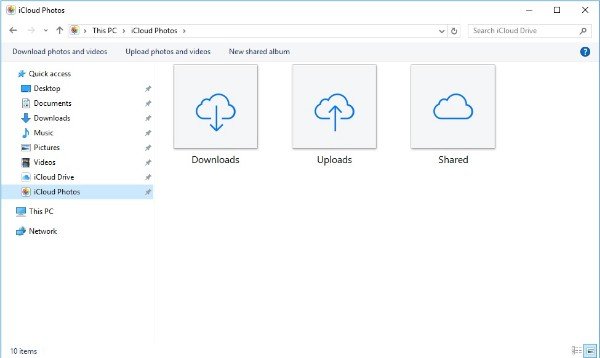
Open file Explorer. Choose “This PC”. You can see “iCloud Drive”, “iCloud Photos” and other related iCloud folders. Once you save new photos and videos on PC into the iCloud folder, you can receive and download files to iPad in the air too.
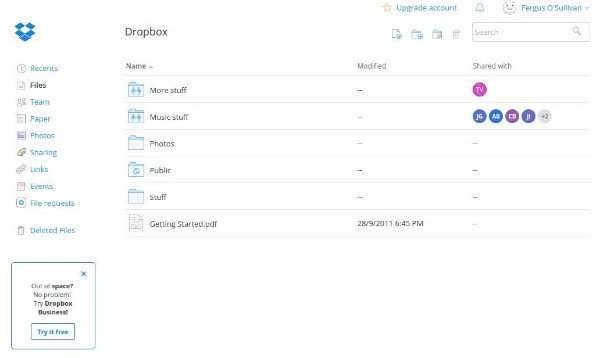
Method 4:Transfer Files from PC to iPad through Dropbox
Step 1. Open Dropbox
Download and install Drobox desktop on your computer. You can get a Dropbox folder in the hard drive. Well, you can also visit the Dropbox site. Sign into your Dropbox account.
Step 2. Transfer files from PC to iPad without iTunes
Choose files to upload from PC to Dropbox. Wait for a while to complete the process. Later, you can open Dropbox app on your iPad to receive uploaded files.
Method 5:Transfer Files from PC to iPad by Google Drive
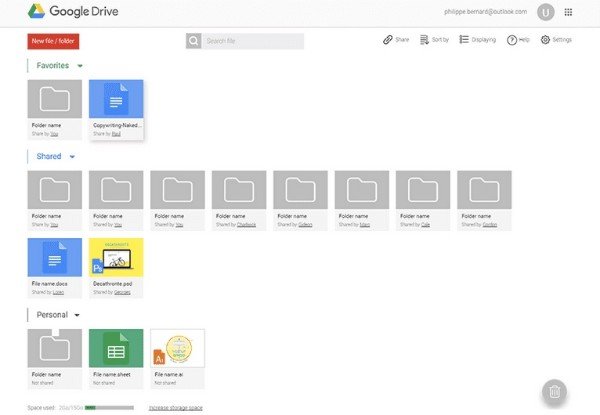
Step 1. Sign into Google Drive
Visit drive.google.com to go to the official Google Drive page. Log into the Google account. You can get 15GB free Google Drive cloud storage space.
Step 2. Add files to Google Drive
Click “New” to create a new folder. It’s OK if you want to save files into the certain folder. Then choose “File upload” to select what you want to upload to Google Drive.
Step 3. Transfer files from PC to iPad over Wi-Fi
Choose “Open” to confirm. Your selected files will be uploaded to Google Drive immediately. Later, turn on your iPad. Open Google Drive App. Log into the same Google Drive account. Select your files and tap the three-dot button. Choose “Make available offline” to download files to iPad wirelessly.
Method 6:Transfer Files from PC to iPad with Microsoft OneDrive
Step 1. Open OneDrive on your computer
Visit onedrive.com in your web browser. If you want to transfer large files from PC to iPad, you had better download the OneDrive desktop app first. The maximum file size is 35GB.
Step 2. Upload files to OneDrive
Click the “Upload” button on the top toolbar. Browse and select which file you want to upload to Microsoft OneDrive. It is supported to drag and drop files to OneDrive main interface directly. Choose “Open” to exit the window.
Step 3. Transfer files to iPad from your Windows PC
Sign into OneDrive account on your iOS device. Choose “Open” to find newly added files. You can save the transferred files to other places for backup.
Method 7:Transfer Files from Windows PC to iPad with Ultimate iPhone Transfer Software
Apeaksoft MobieTrans does not have file size limit or other restrictions. You can get fully customizable features to transfer any file from PC to iPhone, iPad or iPod with the latest iOS 18. You can transfer the selected files instead of an entire folder to iDevice effortlessly. The most important thing is that it can break all iTunes limits. Thus, you can organize iTunes library without data overwritten, iTunes errors and other annoying problems.
- Transfer files from computer or iOS devices to iPhone/iPad/iPod including 21 file types.
- Sync files from your iOS device to iTunes directly.
- Move files from iPhone/iPad/iPod to Windows PC or Mac.
- Preview and select any file to transfer freely.
- Work with iPad Pro, iPad Air, iPad mini, iPad, iPhone 16/15/14/13/12/11/X, etc.
- Support file transferring on Windows 11/10/8.1/8/7/Vista/XP.
How to Transfer the Selected Files from PC to iPad without Internet Safely and Quickly
Step 1. Plug iPad into PC
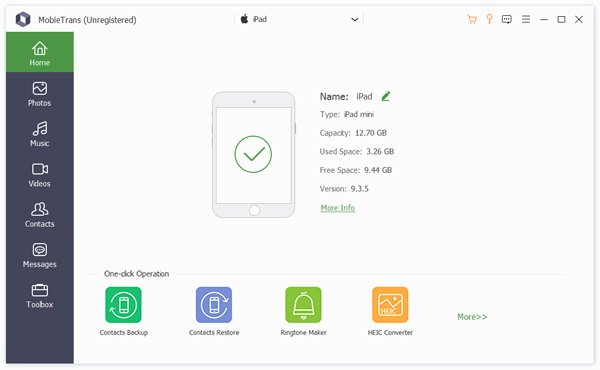
Free download, install and launch iPhone Transfer software. Then connect iPad to your Windows PC via a lightning USB cable.
Step 2. Create a new folder
iPhone Transfer has organized all available files types in categories in the left panel. Choose the “Add” button. Select “Add Folder” or other options based on your need.
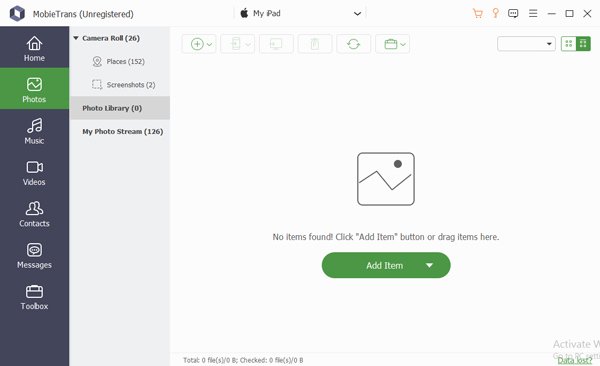
Step 3. Transfer files from Windows PC to iPad without iTunes
Now you can add files to that folder selectively. All iPad compatible formats are welcome. At last, you can click “OK” to transfer files from PC to iPad offline in a short time.
Similar tools that can help you transfer files from PC to iPad are iCopyBot, SynciOS Manager, CopyTrans, Leawo iTransfer, etc., which can also help you complete the taks successfully.
Conclusion
Each iPad file transfer tool has its advantages. But if you want to get reliable and safe file transfering experience, Apeaksoft iPhone Transfer is always your best friend. You can transfer files from PC to iPad with no file size limit, Wi-Fi or other technical requirements. Its intuitive interface is friendly to every user. So if you want to transfer large amounts of files between PC and iPad, you can free download iPhone Transfer for a try right now!
For more topics about iPad transfer, visit here.

