Whether you are new to the place or a regular visitor, Google Maps is the easiest way of finding your location since it was invented. You can also use it to create or plan routes which can be saved or shared with other users. It’s an easy way to schedule a trip or share driving directions with someone close to you.
The article will give you solutions on how to build a custom route on Google Maps and Apple Maps. Please keep reading and you won’t be disappointed.

- Part 1. How to Create a Route on Google Maps
- Part 2. How to Create a Route on Apple Maps
- Part 3. Bonus: Use the Best Tool to Fake Your Route
- Part 4. FAQs about Creating Routes
Part 1. How to Create a Route on Google Maps
On desktop
It’s easy to create your custom route on the Google Maps, as it has all the tools you need for adding a route into this map.
Step 1 Click on Google Maps and make sure that you are logged in to your Google Account. Select the Add directions button at the top of the search bar to start.

Step 2 Use the text boxes to enter your source location and destination. Google’s going to plot the route on its own. And if you want to create a route with multiple stops and continue adding addresses, click on the Add destination button for more stops.
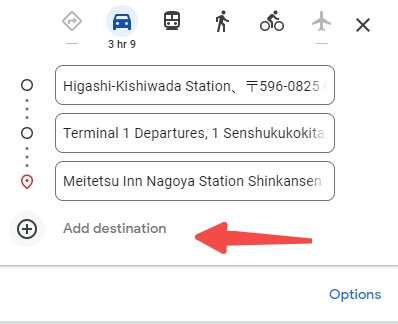
Step 3 Continuously add destinations until you finish or reach the maximum of 10 stops.
Step 4 You can now easily send these directions to your mobile device by clicking on Send directions to your phone and selecting an option from the popup menu, allowing you to receive directions.
On Mobile
It’s also very easy to use the Google Maps app for saving favorite routes across your Apple, iPad or Android phone.
Step 1 You can start by opening a Google Maps app on your phone. Go to the directions icon in your app, on the left side.
Step 2 Specify both the source and destination location in which you need directions. You will then choose your preferred mode of transportation, such as a car or public transport, to reach your destination.
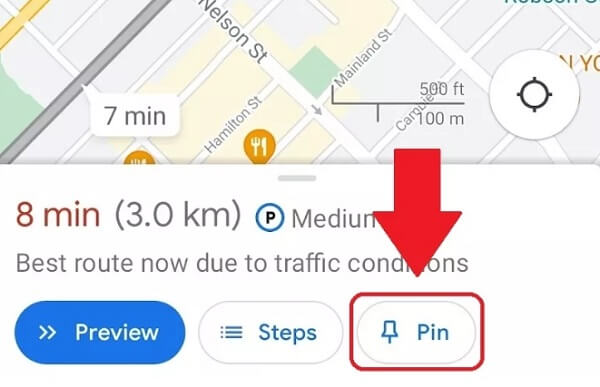
Step 3 On the same page, at the bottom, tap the Pin option. This could add your current route to your pinned routes. To view your pinned routes, just open Google Maps and tap Go at the bottom, you will see all your pinned routes.
Part 2. How to Create a Route on Apple Maps
Now let’s learn how to create routes in Apple Maps to personalize the guide! Once you begin your journey, the GPS will direct you to any location in which you have arranged for seamless travel.
Step 1 Please tap into the search bar in the Apple Maps app. Enter a name for your location. Click Directions when Apple Maps finds your location.
Step 2 By default in the popup, My Location is chosen. But you can change to a different location.
Step 3 For multi-stops, you can tap on Add Stop to type your other destinations. You can add up to 14 stops.
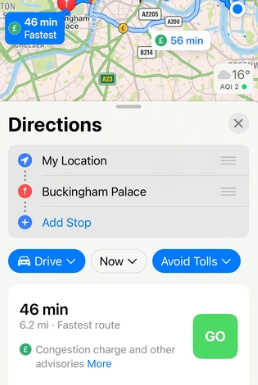
Step 4 When you’ve finished adding stops and are ready to start your trip, just tap the green Go button. Apple Maps will display the time required for each leg of your trip on the preview.
Part 3. Bonus: Use the Best Tool to Fake Your Route
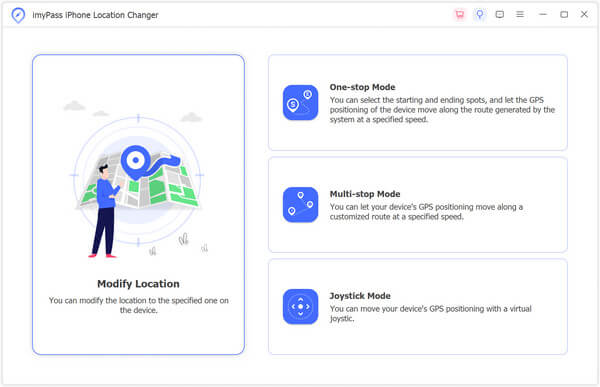
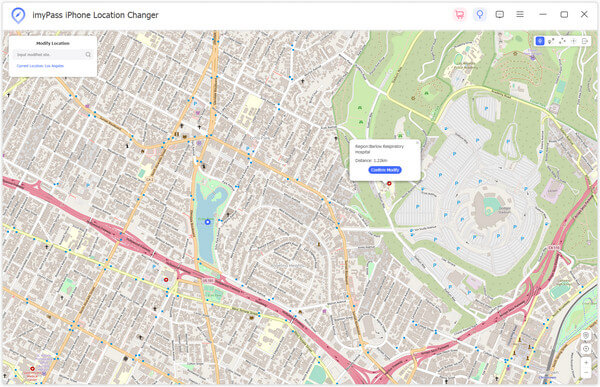
The above is how to create or plan a route on Google Maps or Apple Maps for better and easier navigation on the Maps on your mobile or desktop. But what if you wanna change or fake your live location and routes on Google Maps or Apple Maps? Then location changers like Apeaksoft iPhone Location Changer could be a safe tool. This is an easy-to-use location changer to set and fake your iPhone location on most of the apps like Google Maps and Apple Maps. If you want to fake the movement of your iPhone, then you should try this tool to let your iPhone move along the route you set. There are 3 modes to suit your needs: one-stop mode, multi-stop mode, and joystick mode.
One-stop or Multi-stop Mode
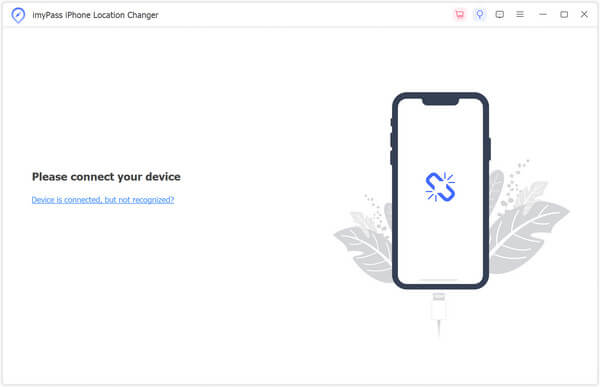
Step 1 Please connect your device to your computer. Sometimes you may need to trust this computer on your device.
Step 2 Depending on if you have one stop of multiple stops, you can choose the mode that suits you.
Step 3 Then please set the start of the route. Then find the other one or multiple places that you want to go. You can either click the spots on the map or input the addresses. After that, click Start Move to move your GPS location. And your location on other apps will change accordingly.
Joystick Mode
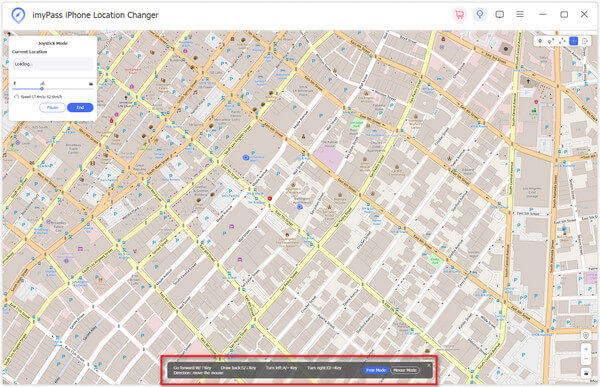
There is also a mode for those who want to control the entire movement themselves – Joystick Mode. The steps are pretty much the same, but just select Joystick Mode from the home interface. Then you can use your mouse or keyboard to control the movement. If you use Free Mode, then the mouse can help you change the direction.
 Further Reading:
 Part 4. FAQs about Creating Routes
Can I manually create a route in maps?
Yes. Just click Add directions, choose transportation mode, and enter start and end points.
How does route app work?
It allows you to visually track all of your online orders and check the latest status change in one place.
Is there a way to record a route?
Route Recorder could keep track of your route while you go around. Route Recorder can be very helpful for outdoor activities like hiking, bicycle, touring, boating, skiing, climbing or sheer driving fun, it can also be used for business.
Conclusion
Now that we’ve shown you how to plan your journeys, how useful have you found this feature? Hopefully, this article could help you easily create a route on Google Maps so that you can have a seamless experience and we also offer alternative to help you fake the GPS movement. Hope it will benefit your future usage of these apps as well.

