"I want to be able to backup my iPhone 8 to an external hard drive since I don't have enough space on my MacBook Pro hard drive. I have moved all the iTunes libraries and media folder to that external hard drive. The problem is that I need to know how to default the iPhone 8 backup to the external drive."
"I own a 16GB capacity iPhone and the available space is already around 500 MB as I'm writing this down. Well, my Mac only got 256GB hard drive, too. I love taking photos and videos so there are thousands of selfies and portraits stored in my iPhone. I need to backup iPhone photos to external hard drive, can anybody help?"
Most people know how important backing up iPhone data is. But it is still hard to backup iPhone to external hard drive on Mac and Windows computer. To free up space of both your iPhone and computer, you can transfer files to an external hard drive to solve the problem. This article will show you easy ways to backup iPhone or iPad to an external hard drive on Mac and PC

- Part 1: Backup iPhone to External Hard Drive via iOS Data Backup & Restore
- Part 2: Backup iPhone to External Hard Drive on Mac OS
Part 1. Backup iPhone to External Hard Drive via iOS Data Backup & Restore
Apeaksoft iOS Data Backup & Restore allows users to backup all types of iOS data from iPhone to external hard drive on both Windows PC and Mac computer. You can point which iPhone data type to backup smartly. In another word, you can get more features to backup iPhone to external hard drive without iTunes.
- One click to backup iPhone/iPad/iPod data to Windows PC and Mac
- Preview the detailed data after backup or before restoring data without hassle
- Restore data from the iTunes and iCloud backup selectively and safely
- Compatible with the latest iOS 18/iPadOS 18 and iPhone 16 series.
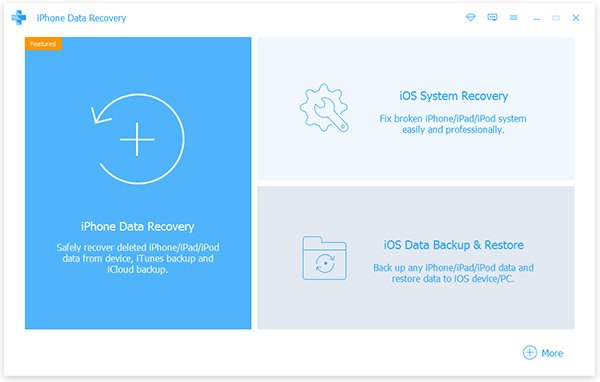
Step 1. Launch iOS Data Backup & Restore
Download and install the program. Choose "iOS Data Backup & Restore" in the lower left corner. iOS Data Backup and Restore is highly compatible with Windows PC and Mac computers. Thus, you can backup data from iPhone to external hard drive with Windows or Mac which gets a big capacity.
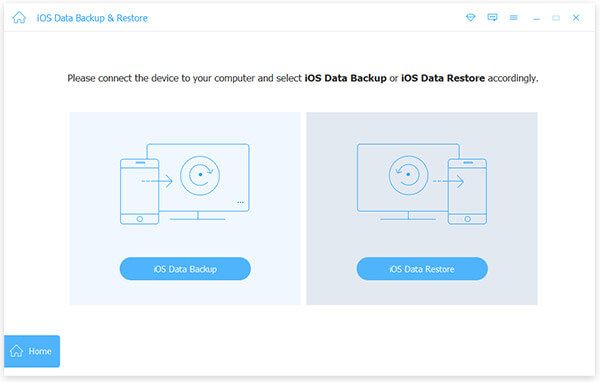
Step 2. Open iOS data backup window
Use USB cables to connect an external hard drive and your iPhone to the computer. Click "iOS Data Backup" and activate iPhone detecting.
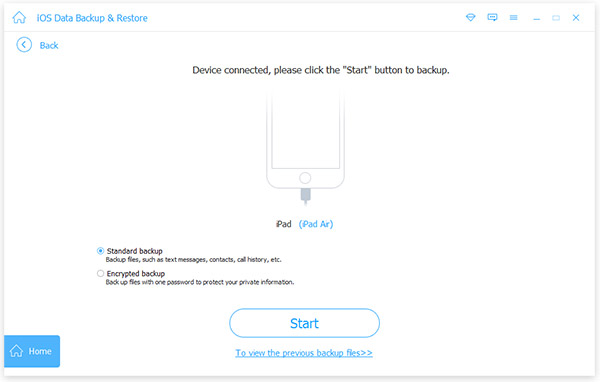
Step 3. Choose standard or encrypted backup mode
There are two iOS data backup modes you can choose. The default "Standard backup" mode allows users to backup iPhone to external hard drive on PC directly. Otherwise, you can choose "Encrypted backup" to make an encrypted backup to protect the security of your iOS data.
Step 4. Select file types to output to an external hard drive
Press "Start" to move on. Later, you are required to choose which type of data to backup with iOS Data Backup. It can backup contacts, photos, notes, messages, app data and other different file types.
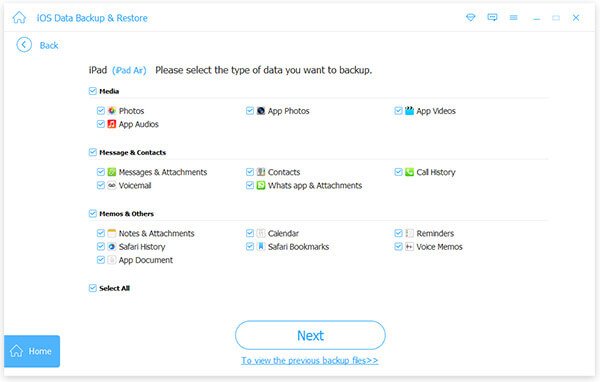
Step 5. Backup iPhone to external hard drive on Windows or Mac
Tap "Next" button and point a destination folder on your external hard drive. Click "Backup" to start backing up data from your iOS device quickly. It even enables you to backup locked iPhone or iPad with ease.
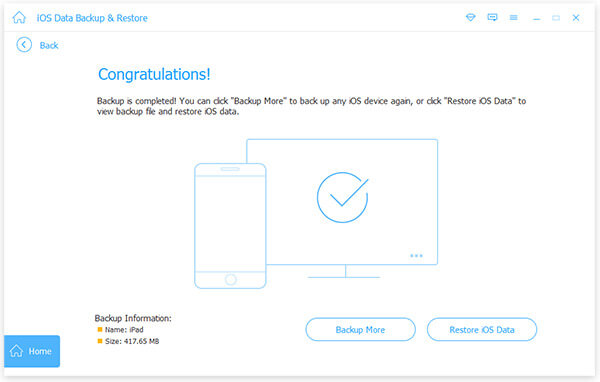
With the professional iPhone data backup software, you can handily backup iOS data to external hard drive. Moreover, as it mentioned above, it also has the capability to restore iPhone data from backup with ease.
Part 2. Backup iPhone to External Hard Drive on Mac OS
Make sure your external hard drive is empty enough to save the iPhone backup file. The followings are steps to backup iPhone to external hard drive with iTunes on your Mac computer. So you can read the step-by-step guide to make a copy of iPhone content. Do not forget to close iTunes before backing up iPhone to external hard drive on Mac.
Step 1. Connect your external hard drive to Mac
Plug in an external hard drive to your Mac computer. Create a new folder with the name of "iPhoneiTunesBackups", with which you can find the folder easily.
Step 2. Duplicate your Backup folder
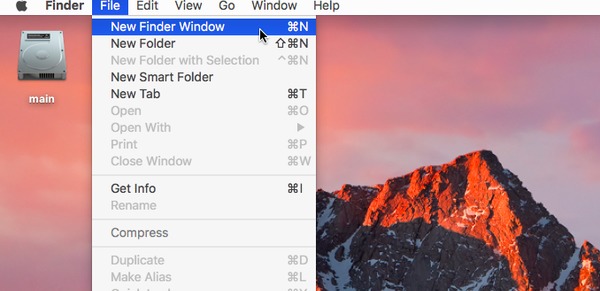
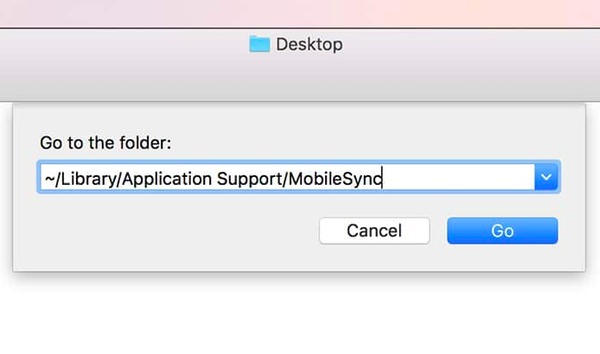
Open Finder and choose "New Finder Window" from the "File" drop-down menu. Press "Command", "Shift" and "G" on your keyboard with the new finder window. Then you need to type the followings in the blank go-to-folder path.
~/Library/Application Support/MobileSync
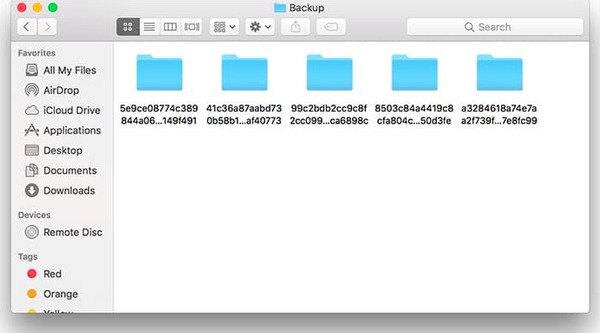
Find the folder named "Backup" and then make a copy.
Step 3. Paste the folder to your external hard drive
Open your external drive and choose the folder you created before. Paste the copy into the folder on your drive. Then go back to the previous "MobileSync" folder to rename that old "Backup" folder. You can call it "BackupOld" or something else.
Step 4. Type orders in Terminal
Press "Command" and "Spacebar", and then type "Terminal" to open Terminal window. Type the following:
ln -s /Volumes/MYPASSPORT/iPhoneiTunesBackups/Backup/ ~/Library/Application\ Support/MobileSync
You can change the name of "MYPASSPORT" and "iPhoneiTunesBackup" according to your actual names of that external hard drive and backup folder. After everything is checked, tap "Enter" or "Return" to quit terminal.

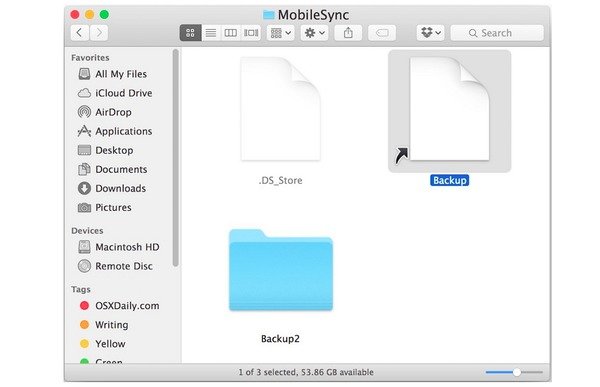
Step 5. Go back to "MobileSync" to check
If you are not sure whether you have backed up iPhone to external hard drive, you can repeat above operations to open "MobileSync" folder. There will be not only your new iPhone backup folder but also the old one. Thus, it means the further iPhone backup files will be synced to your new created backup folder automatically.
Don't Miss: Where to Find iTunes Backup on Windows PC and Mac
Step 6. Backup iPhone to external backup drive using iTunes
Launch iTunes and use a USB cable to connect iPhone to your Mac computer. Choose "Summary" and move to "Backups" section. Tick "This Computer" and press "Back Up Now". You can open the backup folder on the external to see the latest iPhone backup file.
You can manage iPhone backup files on your external hard drive with above methods easily. As a result, things will be easier when you need to get deleted or lost iPhone data back. That's all for how to backup iPhone to external hard drive on Windows computer or Mac. You can also change the backup location to keep iPhone backups if necessary.


